How to Make Coconut Oil in 4 Easy Steps
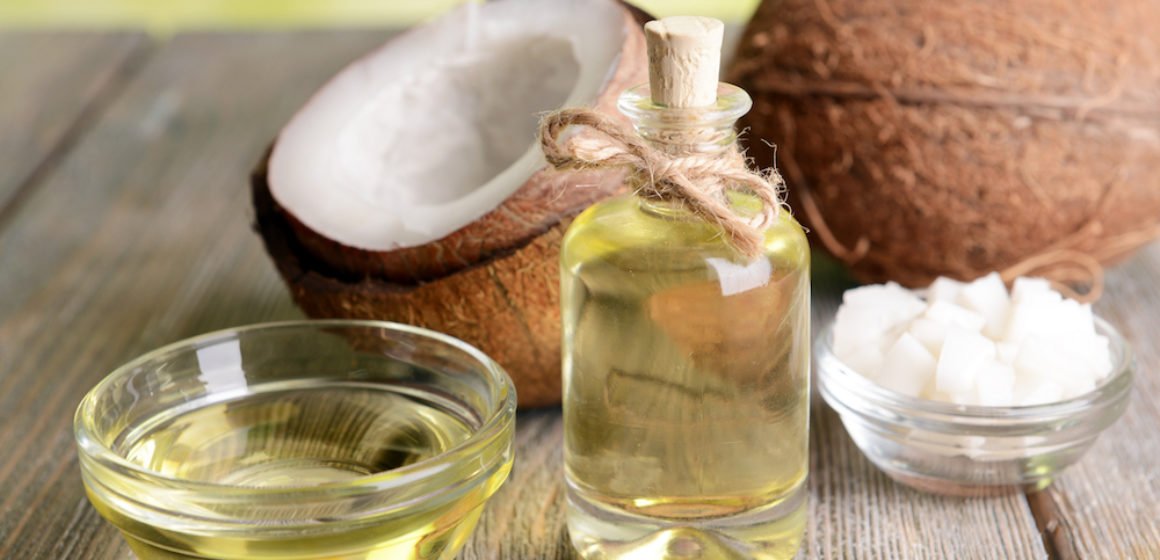
In this post, we will be looking at how to make coconut oil in 4 easy and practicable steps. Coconut oil has many benefits all due to the array of vitamins and other healthy chemicals in it.
Coconut oil contains healthy fatty acids. The oil is high in certain saturated fats, particularly medium-chain triglycerides. It also contains Lauric acids which make the oils potent antimicrobial. Coconut oil is also good for the hair as well as the skin; acting as moisturizers in both cases.
There are numerous methods of making coconut oil but some methods are capable of reducing the quality of the oil due to denaturing of the coconuts bioactive compounds which are the beneficial components of the oil.
Here are 4 easy and practicable steps to make coconut oil;
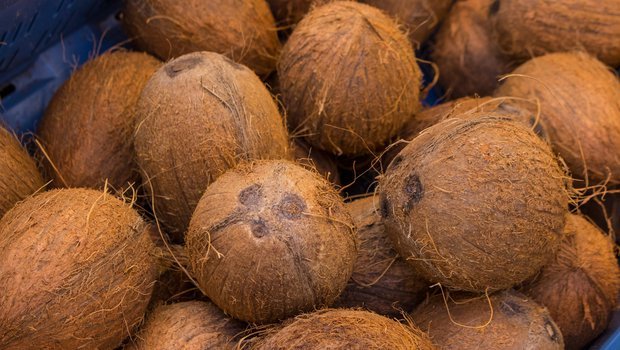
Step 1: Buy coconut
This is the first and very crucial step. The health and maturity of the coconut you buy determine the quantity and the quality of oil you get.
To check if the coconut you want to buy is mature and healthy;
- Shake it close to your ear, you should hear the sound of the coconut water inside; if it sounds as if it is much, then it is not mature but if from your observation the water content is small then it is mature.
- Secondly, the shell also shows if the coconut is mature. You should buy a coconut that has a thick shell.
- The coconut should not have any visible crack. The presence of a crack means the coconut’s integrity has been compromised and it is prone to microbial spoilage; once microbes gain access to the coconut, it begins to ferment it. This is why when you break open some coconut, you perceive a soured kind of smell. If you go ahead and use this kind of coconut for oil, you won’t only get poor quantity but poor quality as well; this is because the vitamins and minerals in the coconut have been depleted by the microbes.

Step 2: Deshell and Grate/Grind the coconut meat
After buying the coconut, the next step is to deshell it. You can ask the sellers to help you de-shell it, they have an easy technique to do that. However, if they can’t do it for you, you can easily deshell it by gradually hitting the top corners.
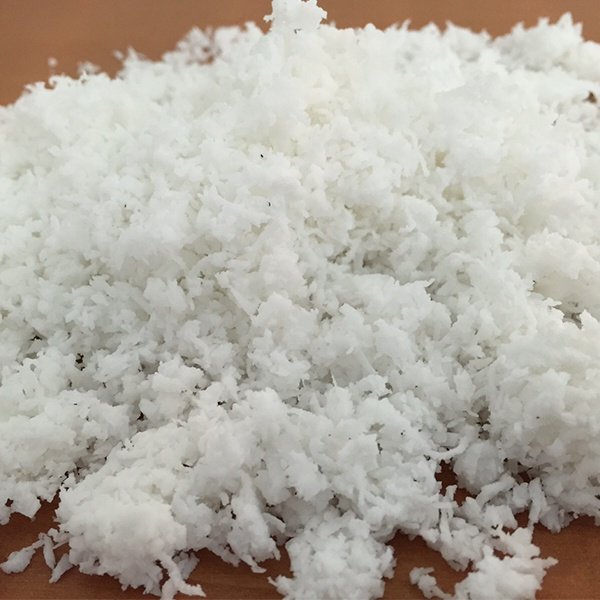
After deshelling the coconut, you then wash it in clean water and grate it. However, if you are producing large quantities, you should get an engine dedicated to grinding your coconut into a paste. When deciding what kind of engine to use, remember that while grinding, you must not add water to the coconut. You ought to grind/blend it dry. The only liquid allowed is the liquid from the coconut itself. This is to ensure you get maximum yield.
Step 3: Filter the ground paste
The next step is to filter your ground coconut paste. To achieve this, you must make the following materials ready;
- Filter: you can use a fine sieve preferably the kind you use to sieve pap.
- A collecting container: you can use a bucket or basin depending on the quantity of your coconut paste.
- Lukewarm water: you will use the lukewarm water during the filtration process.
To set up your filtration stand follow these steps;
- Wash your filter (muslin cloth or ogi filter) and your collecting container.
- Put your filter (muslin cloth or ogi filter) over the opening of your collecting container, then tie the filter firmly to the container using a rope. This is to ensure that the coconut pulp/chaff doesn’t enter the filtrate.
When your setup is complete, you can start the filtration process by scooping a handful of coconut paste onto the filter and gradually pour your lukewarm water while rubbing the paste into the filter with your hands. Do this until you feel what is left is the pulp or chaff. Then you can remove it to give room for another scoop. You can discard the coconut pulp/chaff or use it as a facial scrub. When your filtration is complete. Cover your collecting container and let it stand overnight or for 6 – 12 hours depending on the quantity of your filtrate. Letting it stand for longer will allow for proper separation.

Step 4: Extract the oil
When you come back to your filtrate, you will see a thick white froth on the top of your collecting container and water in the bottom of the container. The thick white froth is what you should be interested in. so begin your oil extraction process by carefully scooping the thick white froth into a different container. But what I do is to scoop the white froth into a transparent white waterproof tied in a conical form. Normally, you should try to collect the white froth carefully to prevent getting water into it. But in practice, you will still have some amount of water in the froth no matter how careful you are. That is why I developed the conical waterproof method to help separate and remove any water in the froth.
When you collect the thick white froth in the waterproof, allow it to stand for 2 – 5 hours then you will see another separation of water and froth; only this time the froth will look like thick coagulated milk. Puncture the tip of the waterproof to remove the water. Then transfer the thick coagulated milk to a clean pot and heat under very low heat. The heating will immediately turn the coagulated milk into clear white oil. Scoop your oil into your oil bottle. Good coconut oil is meant to be milky white and not brown. The darker the oil, the longer it stays on fire and the poorer the quality.
For this and much more Information relating to employability skills, employment opportunities, career advancement, and entrepreneurship development; Join our Telegram and WhatsApp groups, and also follow us on Instagram, Twitter and Facebook.
The steps were provided by Mrs. Aderonke of Feyis Palace.


May 21, 2021 @ 8:21 am
it can also be used for manufacturing of cosmetics